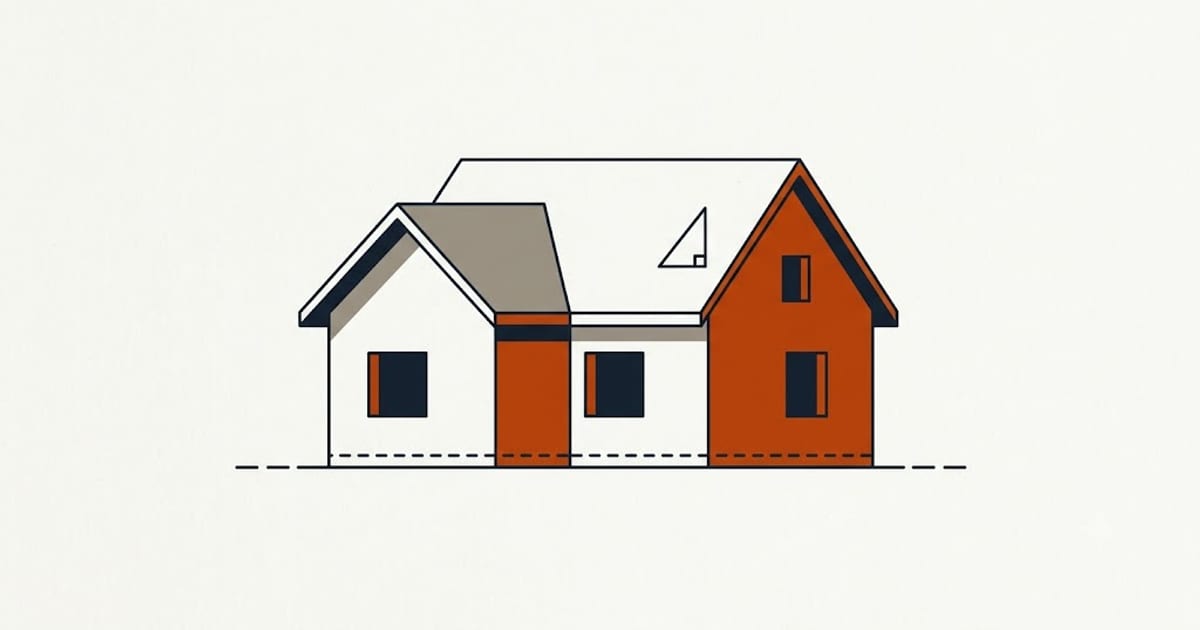
Three numbers get you to an orderable estimate: footprint, overhang, and pitch. None of them require getting on the roof, and two of them are taken standing on the driveway.
The result is typically within 3–5% of a measured roof, which is well inside the waste allowance you are adding anyway.
1. Footprint
Measure the outside of the house at ground level, wall to wall, on each side. For a simple rectangle that is two measurements. For an L-shaped house, break it into rectangles and add.
Do it at the wall, not at the eave — you will add the overhang separately, and it is easier to be accurate against a wall than against a shadow.
Attached garages count if they are under the same roof. Porches with their own roof are a separate rectangle with their own pitch, often shallower.
2. Overhang
Stand at the corner of the house and measure horizontally from the wall to the drip edge. Typical is 12 to 24 inches. A tape held level against the wall, sighted up to the eave, is accurate enough.
This is not a rounding error. An 18-inch overhang on all four sides of a 40 × 30 house adds 111 ft² of roof — more than a square, before pitch and waste multiply it.
Total footprint = (length + 2 × overhang) × (width + 2 × overhang), in feet.
3. Pitch
Three ways, in order of accuracy.
From the attic. Hold a 2 ft level horizontally against the underside of a rafter, level it, measure 12 inches along it from the rafter, and measure straight down from that point to the rafter. That vertical measurement in inches is the rise. A drop of 6 inches is a 6/12 pitch.
From a gable-end photograph. Stand well back, square-on to the gable, and photograph it. On the image, measure the horizontal run and the vertical rise of the roof triangle in any units you like. The ratio survives the scaling — rise ÷ run × 12 gives the pitch.
From the ladder at the rake. Hold a level against the rake board and measure the same way as in the attic. Only worth doing if there is no attic access and no clear gable view.
Every roof plane is not necessarily the same pitch. Porches, dormers and additions frequently differ. Measure each plane you can see.
4. Turn footprint into roof area
roof area = footprint × √(1 + (rise ÷ 12)²)
| Pitch | Factor |
|---|---|
| 3/12 | 1.031 |
| 4/12 | 1.054 |
| 5/12 | 1.083 |
| 6/12 | 1.118 |
| 7/12 | 1.158 |
| 8/12 | 1.202 |
| 9/12 | 1.250 |
| 10/12 | 1.302 |
| 12/12 | 1.414 |
This factor is exact geometry. It is the one number in the estimate with no judgement in it.
5. Add waste for the shape
10% for a simple gable, 15% for a hip, 20% for anything with valleys and dormers. Then divide by 100 for squares — the full worked method is here.
The combinations are worked out already if you would rather check your arithmetic than do it.
What this method misses
Anything you cannot see. A roof with a hidden rear extension, a flat section behind a parapet, or a second pitch on a dormer will read low. Walk the whole perimeter before you trust the number.
Very cut-up roofs. Above about six planes, the ground method starts drifting because the overlaps and valleys are hard to account for from below. That is where a satellite measurement service or a contractor's measurement earns its fee.
Aerial photography from a mapping service is a useful cross-check on the footprint — measure the roof outline on a satellite view and compare to your tape. The two should agree within a few percent; if they do not, something on the ground was mismeasured.
What to do with the number
Order shingles by the square, and remember starter strip and ridge cap are separate products with separate coverage. How many bundles that means depends on which shingle you have chosen, not on the square count.